When you move content from one WordPress installation to another, you use the WordPress Importer plugin. It moves all your posts, pages, custom post types, and even media uploaded to the media library from the old installation to the new one. You can also use the plugin to move your content from Blogger, LiveJournal or Tumblr to a brand new WordPress page.
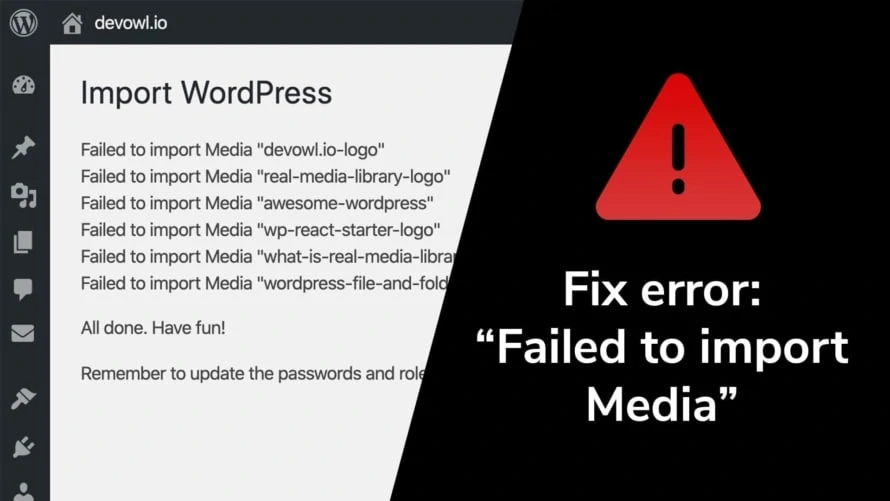
In rare cases the error “Failed to import Media” can occur. The error means that WordPress was not able to fetch the media from the old source to upload them to your WordPress installation, where you want to import them. In this article we explain several reasons why this can happen and how you can fix the problem behind the error.
Enable debugging mode for WordPress Importer
By default, WordPress Importer shows an error message like Failed to import media "devowl.io-logo". This does not help to debug the error further, but you can activate the debugging mode to get a more detailed error message.
- Open your FTP client and connect to your website.
- You should find a file called wp-config.php in the root directory of the files of your website. We need to edit it.
- Insert the following line of code in a new line after
<?phpto enable the debugging mode and save the file. - Try to import the XML file again with WordPress Importer. Now you should get an error message for all failed imports with a little more information that will help you find the root of the problem.
define( 'IMPORT_DEBUG', true );
Do not forget to remove this line of code when you have solved your problem.
Is the media source still available?
In the XML file you upload to WordPress Importer, there is only the reference (URL) to the file, not the file itself. This means that the importer tries to download e.g. the image from the old website/blog. If the old source is no longer available, the importer plugin cannot download the file and throws an error.
To check if the media is still available, we can simply open it in your browser. To find the URL of the media, open the XML file you would upload in a text editor. It should contain code that looks like this:
<item>
	<title>example-image-110849_1280</title>
	<link>https://devowl.io/example-image-110849_1280-2/</link>
	<pubDate>Sun, 29 Mar 2020 21:17:52 +0000</pubDate>
	<dc:creator><![CDATA[devowl]]></dc:creator>
	<guid isPermaLink="false">https://devowl.io/wp-content/uploads/example-image-110849_1280.jpg?sc=12</guid>
	<description></description>
	<content:encoded><![CDATA[]]></content:encoded>
	<excerpt:encoded><![CDATA[]]></excerpt:encoded>
	<wp:post_id>28</wp:post_id>
	<wp:post_date><![CDATA[2020-03-29 21:17:52]]></wp:post_date>
	<wp:post_date_gmt><![CDATA[2020-03-29 21:17:52]]></wp:post_date_gmt>
	<wp:comment_status><![CDATA[open]]></wp:comment_status>
	<wp:ping_status><![CDATA[closed]]></wp:ping_status>
	<wp:post_name><![CDATA[example-image-110849_1280-2]]></wp:post_name>
	<wp:status><![CDATA[inherit]]></wp:status>
	<wp:post_parent>0</wp:post_parent>
	<wp:menu_order>0</wp:menu_order>
	<wp:post_type><![CDATA[attachment]]></wp:post_type>
	<wp:post_password><![CDATA[]]></wp:post_password>
	<wp:is_sticky>0</wp:is_sticky>
	<wp:attachment_url><![CDATA[https://devowl.io/wp-content/uploads/example-image-110849_1280.jpg?sc=12]]></wp:attachment_url>
</item>
The important property of each <item> element is the <wp:attachment_url>. It contains the URL of the media in the old source. In this example, the URL calls https://devowl.io/wp-content/uploads/example-image-110849_1280.jpg?sc=12 which you can open in your browser and check, if the file is accessible.
If the file is not accessible, you have to make sure that you can access it again and run the WordPress importer afterwards.
Does WordPress have write-permissions for media files to should be transferred?
Another issue could be that the WordPress Importer plugin can download the file from the old source, but cannot save it to the new WordPress instance. The most common reason for this behavior is insufficient permission to write to the folder wp-content/uploads/.
You can easily test this by uploading a file to the media library of your new WordPress website. If you can’t upload an image there as well, you can be pretty sure that you don’t have sufficient permissions.
Solve this problem by following these simple steps:
- Open your FTP client and connect to your website.
Navigate to thewp-content/folder. Here you should find anuploads/folder. - You should change the permissions of this folder recursively. In most FTP clients, right-click on the folder to open the permissions option. Set the permissions for this folder, all subfolders and files to
755. - Try again to see if you can upload a file to your media library and import the media using the WordPress importer.
If that doesn’t work for you and you still can’t upload files, you can change the permissions to 777, but be careful because depending on the configuration of the server, this could be a potential security hole. If it only works with 777, please contact your web host to discuss this issue further.
Do you transfer from media from a server to exactly the same server (e.g. moving from single-site to multi-site)?
One last tip from us only happens in a edge case. If you try to move your website from one server to exactly the same server, WordPress Import may not work. For example, if you host devowl.io and example.devowl.io on the same server/webspace with exactly the same IP address, a WordPress hook named http_request_host_is_external may block to download the media file. You can read more about this problem in this Stackoverflow thread.
You can solve this problem by disabling the check if the file comes from an external source. To do this, navigate via FTP to the theme you have activated, e.g. wp-content/themes/divi/. You should find a functions.php file there. You have to open the file in an editor and add the following line of code after <?php in a new line.
add_filter( 'http_request_host_is_external', '__return_true' );After you add this line of code to the file, you should try to import the media files again. Do not forget to remove this line of code when you have solved your problem.
What you should do after a successful import
I hope one of the variants mentioned above was your problem and you have now solved it. Maybe you already know how simple the media library of WordPress is. You have all uploaded files in a list or grid view – that’s it. If you really want to organize your uploads, you can’t. Therefore, you should install a plugin like Real Media Library, which adds a full-featured file and folder manager to your WordPress. It helps a lot to organize your uploads and save time later when you are searching for uploads. Check it out!
