As grandma used to say: Order is the be-all and end-all!
You’re diligently taking care of your WordPress website, but you’ve already accumulated several hundred files in your media library and completely lost track of them? Or is your available storage space running out? Then it’s high time to clean up your WordPress media library and delete unnecessary files.
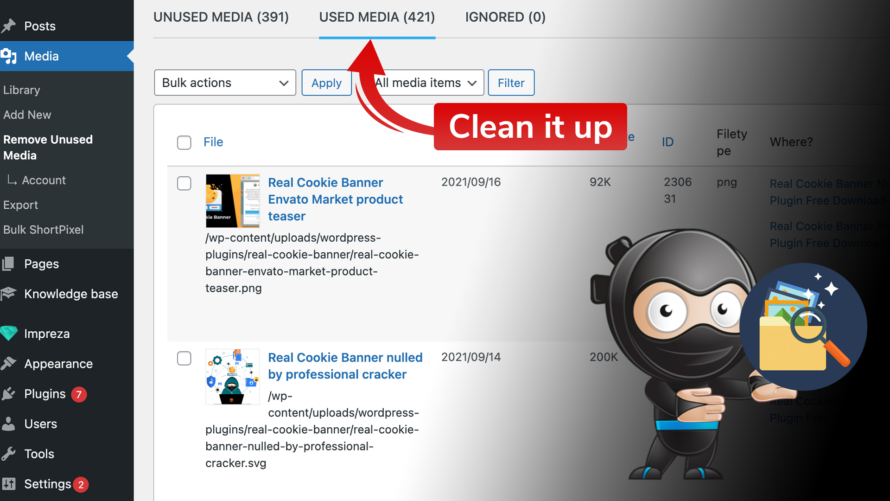
If you don’t have the time to spend hours scrolling through all the entries and clicking on them one by one, you should definitely take a look at the WordPress plugin Remove Unused Media. In no time at all, you’ll have cleaned your WordPress media and spruced up your library!
Remove unused files from your WordPress media library
Save time, tedious work and find unused files within a few clicks. If you use a WordPress file manager plugin such as Real Media Library, a large number of uploaded media including duplicates can quickly accumulate in the folders (we can confirm this from our own experience 😉). But even without such a plugin, the overview can be lost quickly. This is where the Remove Unused Media plugin comes into play, which lives up to its name: it scans your website, sniffs out unused and used media files and lists them clearly. As a result, you can decide which files you want to remove from your WordPress media library.
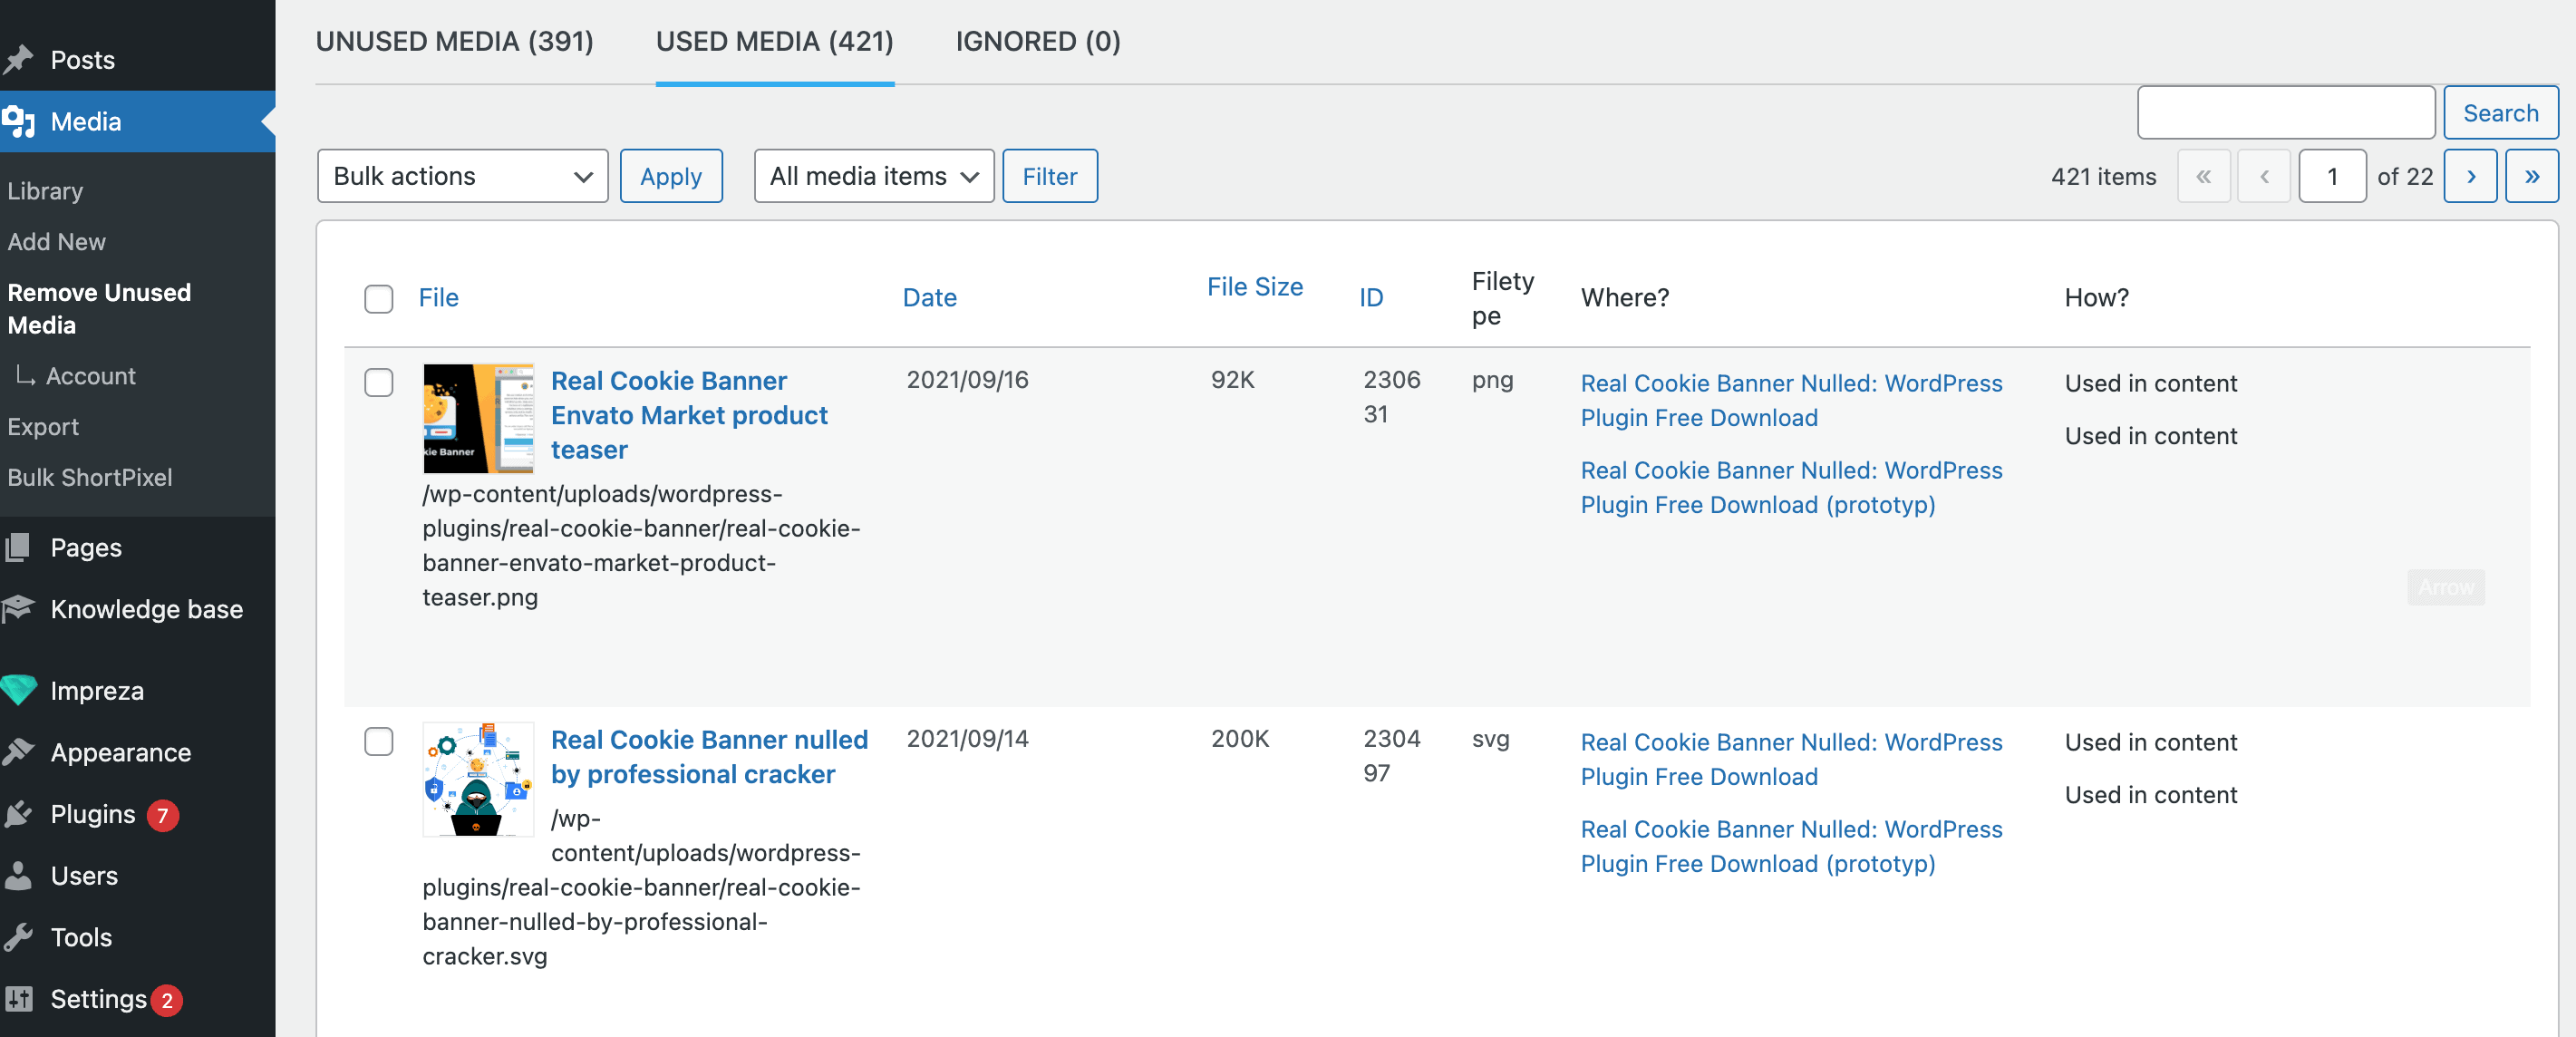
Another advantage of the plugin is that it shows you where exactly you are using media, how they are being used and how big each file is. In addition, you can quickly and easily sort the files by size, so that you get an overview of which files may be taking up too much space. In this way, the plugin actively supports you in optimising your media library.
Installing the plugin is also very easy. After you have purchased Remove Unsed Media, you will receive a confirmation email including a download link and licence key. You can then install it in your WordPress backend under Plugins > Installed Plugins > Add New > Upload Plugin. Now all you have to do is activate Remove Unused Media and enter the licence key – et voilà, the plugin for tidying up your WordPress media library is ready to go. You can find the plugin in your WordPress backend under Dashboard > Media > Remove Unused Media.
Compatible with almost every popular plugin & theme
Another advantage of the WordPress cleaning fairy is its broad compatibility. Remove Unused Media can be used in your preferred plugins and themes.
- Elementor
- WP Bakery Composer
- Divi Builder
- Gutenberg Editor
- Impreza
- and much more!
And don’t panic: Even if the compatibility with your plugin or theme is not yet supported, this will certainly be the case in the near future. Remove Unused Media is constantly being developed to detect all media in your WordPress backend with the highest possible accuracy, regardless of plugin or theme.
Speaking of accuracy: This is possibly the only shortcoming of the plugin. Remove Unused Media cannot guarantee to always find all uses of the upload. It relies on the developers of third-party WordPress plugins and themes to adhere to common standards in WordPress development or to create explicit compatibility. However, this is also the case with other popular cleaner Plugins such as Media Cleaner and Media Deduper.
Remove Unused Media as an alternative to Media Cleaner?
The WordPress Plugin Media Cleaner is one of the undefeated favourites when it comes to WordPress media management. This raises the question of whether Remove Unused Media is a worthy competitor. We say: definitely.
The two WordPress Plugins clearly differ from each other in their visual appearance. While WP Media Cleaner relies on a cute cat design, Remove Unused Media convinces with simplicity and restraint. Basically, however, both plugins are similar in their structure and range of functions. Nevertheless, there are small but subtle differences. We will take a closer look at some of them below 🔎
After the installation, you can start the scan directly. Once the scan is complete, an overview of the results is displayed. Both Plugins strongly advise you to create a backup of the website before carrying out the scan or deletion process. This way, if you accidentally delete a file that is still in use, you can access it again.
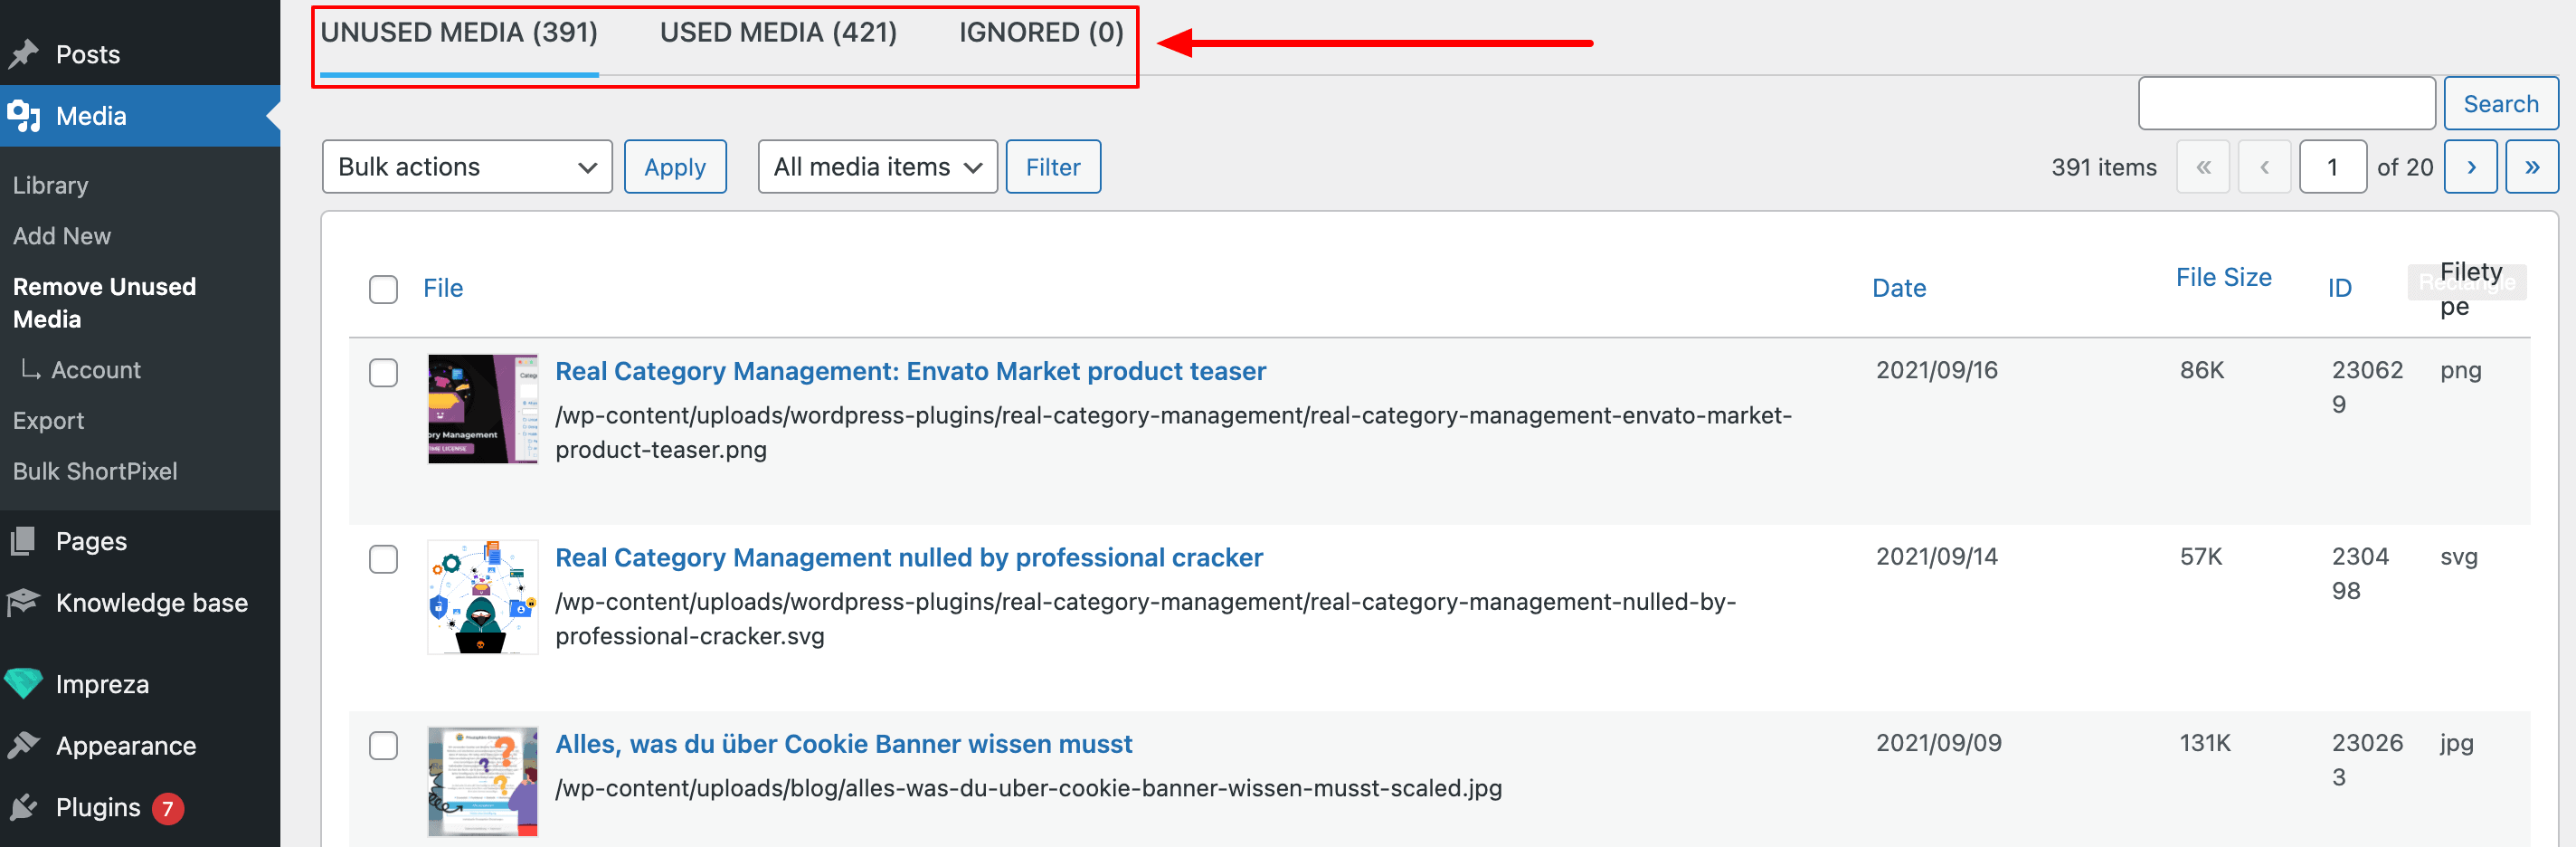
Already after the scan, one advantage of Remove Unused Media over Media Cleaner becomes clear. In contrast to Media Cleaner, it classifies the media found into the categories Unused Media, Used Media and Ignored, which are easy for the user to understand. The WP plugin Media Cleaner, in contrast, displays the results of the found, unused media aggregated in Issues.
In addition, Remove Unused Media – unlike Media Cleaner in the basic version – immediately shows you the date on which the file was added to the media library and you can sort by type of media (e.g. pictures, videos). Practical for cleaning up large videos first!
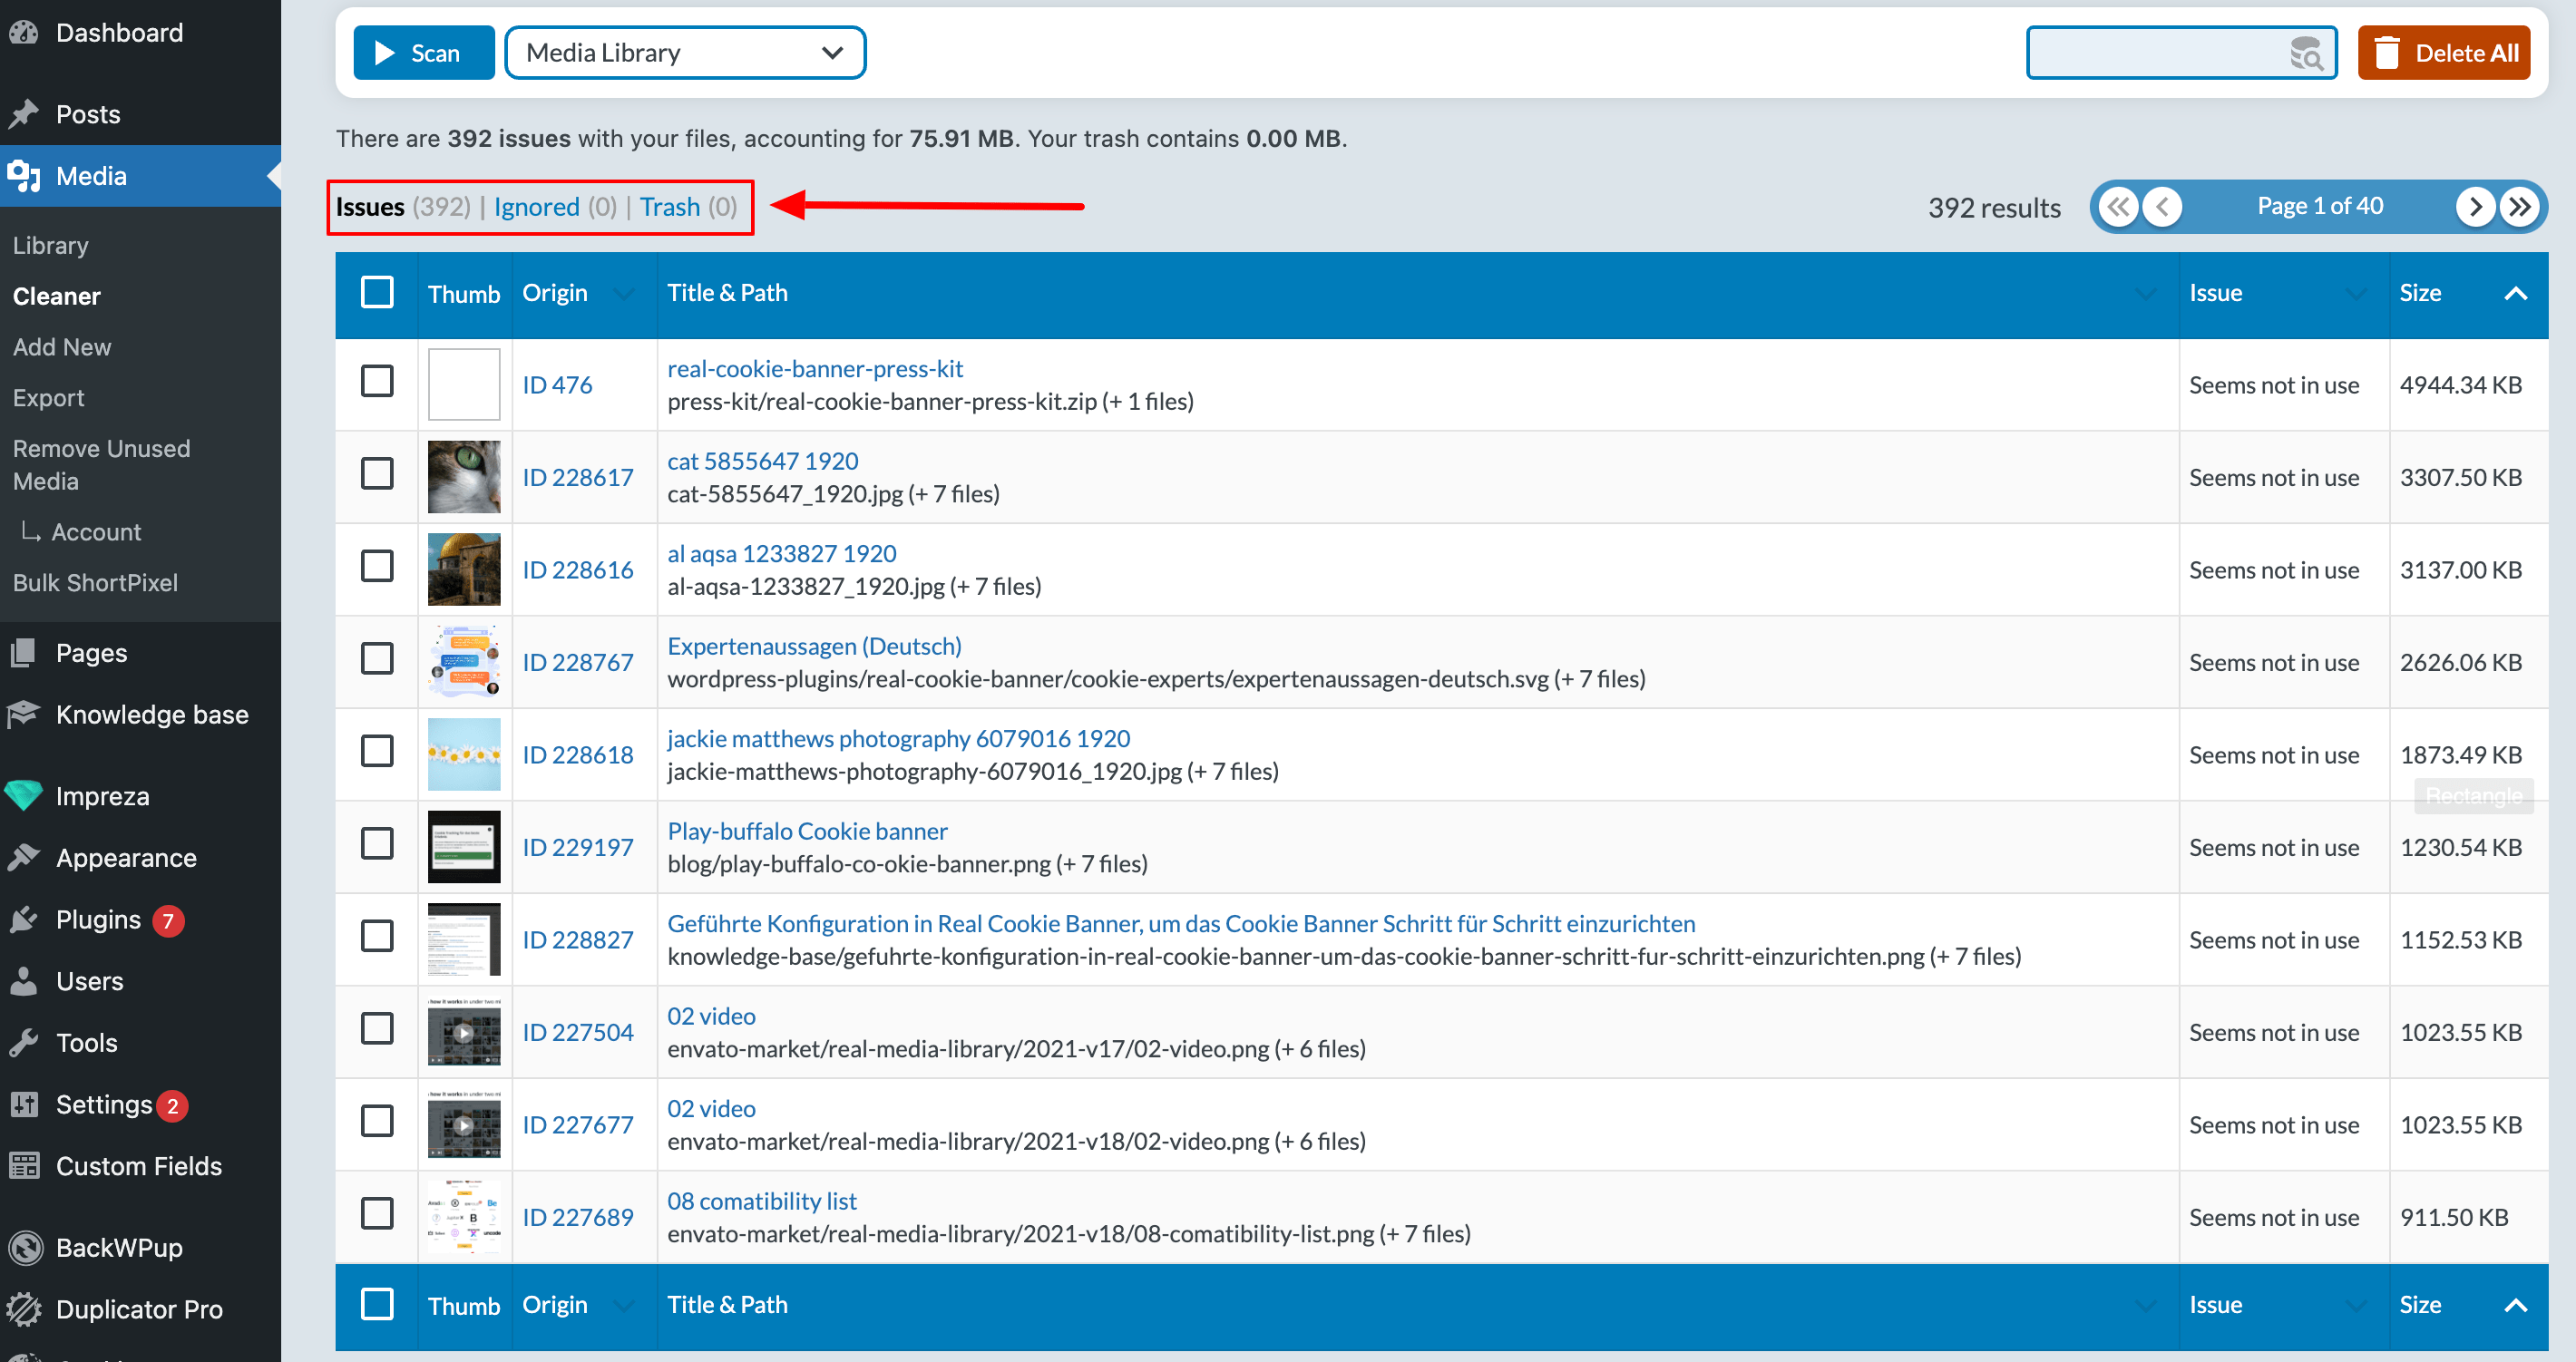
Although you can see the path to the corresponding media file in the Media Cleaner Plugin, this feature is broken down further in Remove Unused Media, where – as already mentioned – you can see the exact location and the specific type of use. In this way, you know immediately where old uploads are used on your website.
All in all, Remove Unused Media is a great plugin for your media management and a welcome alternative to Media Cleaner. Although the plugin is only available in a paid version, it is very detailed, is available in both German and English and also impresses with its very beginner-friendly usability.
The WordPress plugin Remove Unused Media is definitely an enrichment for your own WordPress media library that you should definitely try out when you get the chance.