The media library is the central location in WordPress. There you will find all media assets that you upload to your website. Despite other parts of WordPress the possibilities of the media library are very limited. You can see all your uploads as a list or as a grid. But how can you categorize and organize the files in your media library? You need more structure in your uploads, filter and find them faster. Otherwise, after more than 100 uploads you spend a lot of time trying to find the right upload again. Believe me, I speak from experience here, and I’ve wasted hours trying to find the one image I uploaded about two years ago.
In this article I’d like to tell you how you can organize your media library with folders, image collections, and tags to save time when editing your website.
Folders: Organize uploads of your WordPress Media Library
Perhaps the most intuitive way to structure multiple files, no matter which one, are folders. You know the concept from Windows Explorer or the Mac Finder of dragging and dropping files into folders to create a kind of category for each logically related group of files. However, WordPress does not have an out-of-the-box feature for creating folders in the media library.
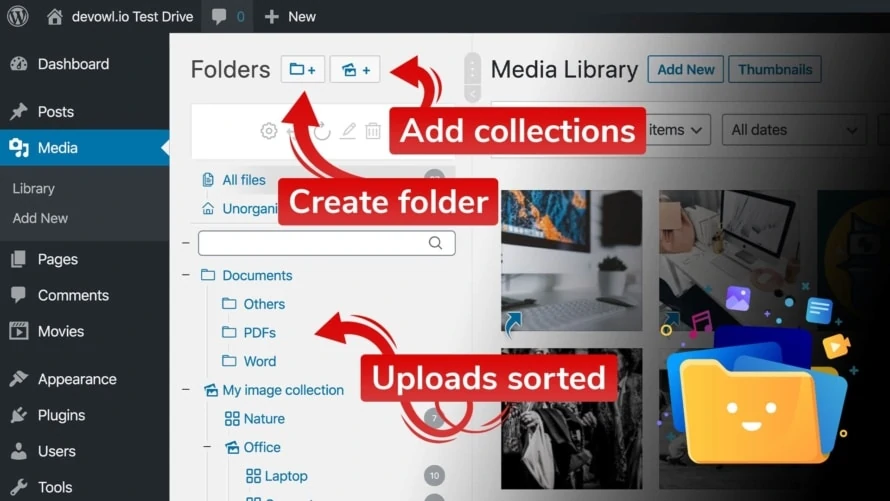
You have to install a folder plugin to do this. We recommend that you use the free version of the Real Media Library, which you can download on wordpress.org, or you can buy the PRO version of Real Media Library for just a few dollars.
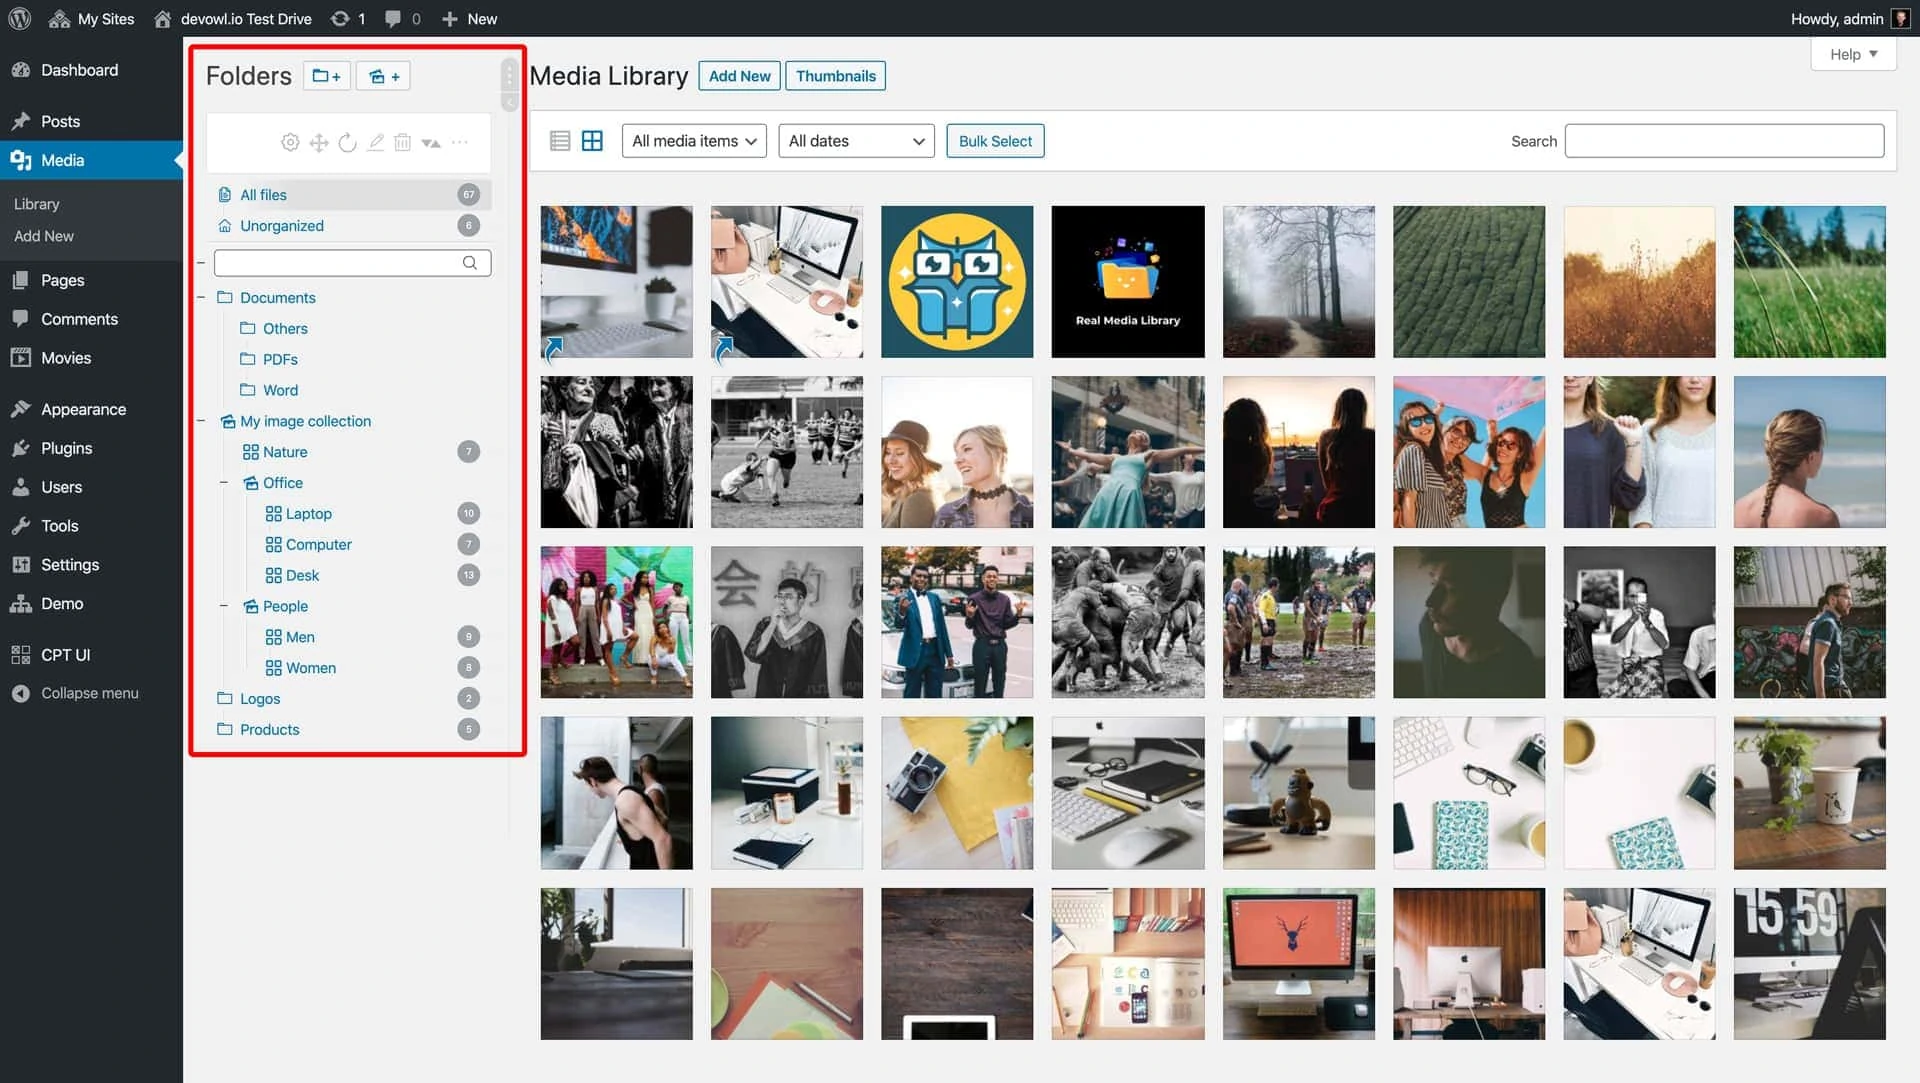
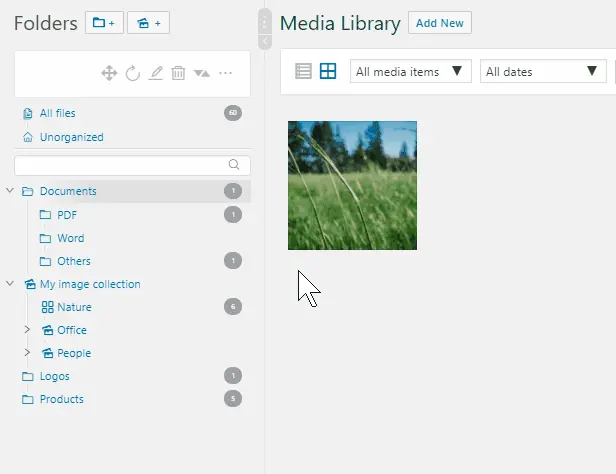
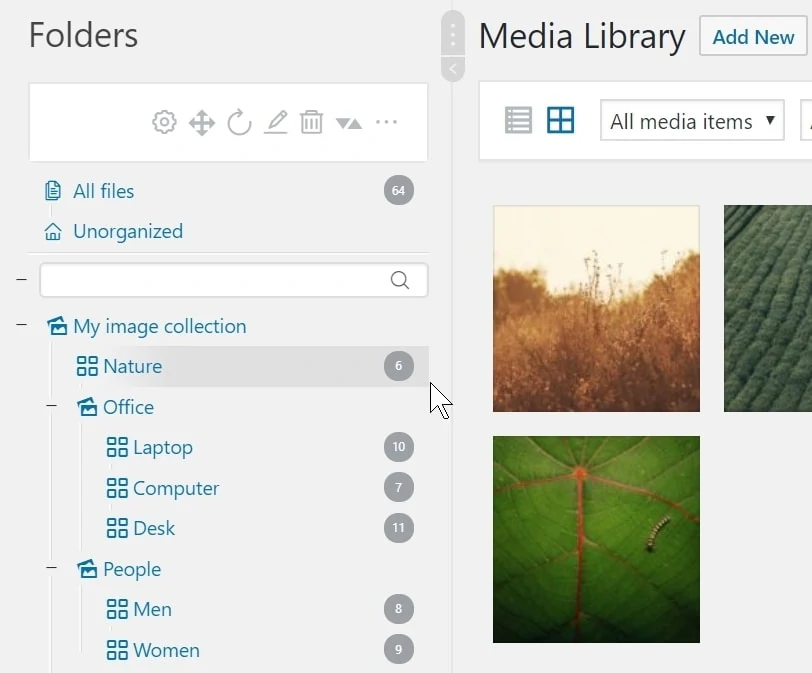
The plugin adds a sidebar with a folder tree to your media library. You can easily create, rename and delete folders, drag and drop files, and filter them in the insert media dialog. If you are using the PRO version of the plugin, you have even more options, such as sorting files by criteria, e.g. A-Z by title or file name.
Real Media Library gives you full control over the structure of your WordPress media library and allows you to organize and categorize files in the easiest way possible. Even with several thousand files, it just works.
Collections: Images grouped for galleries
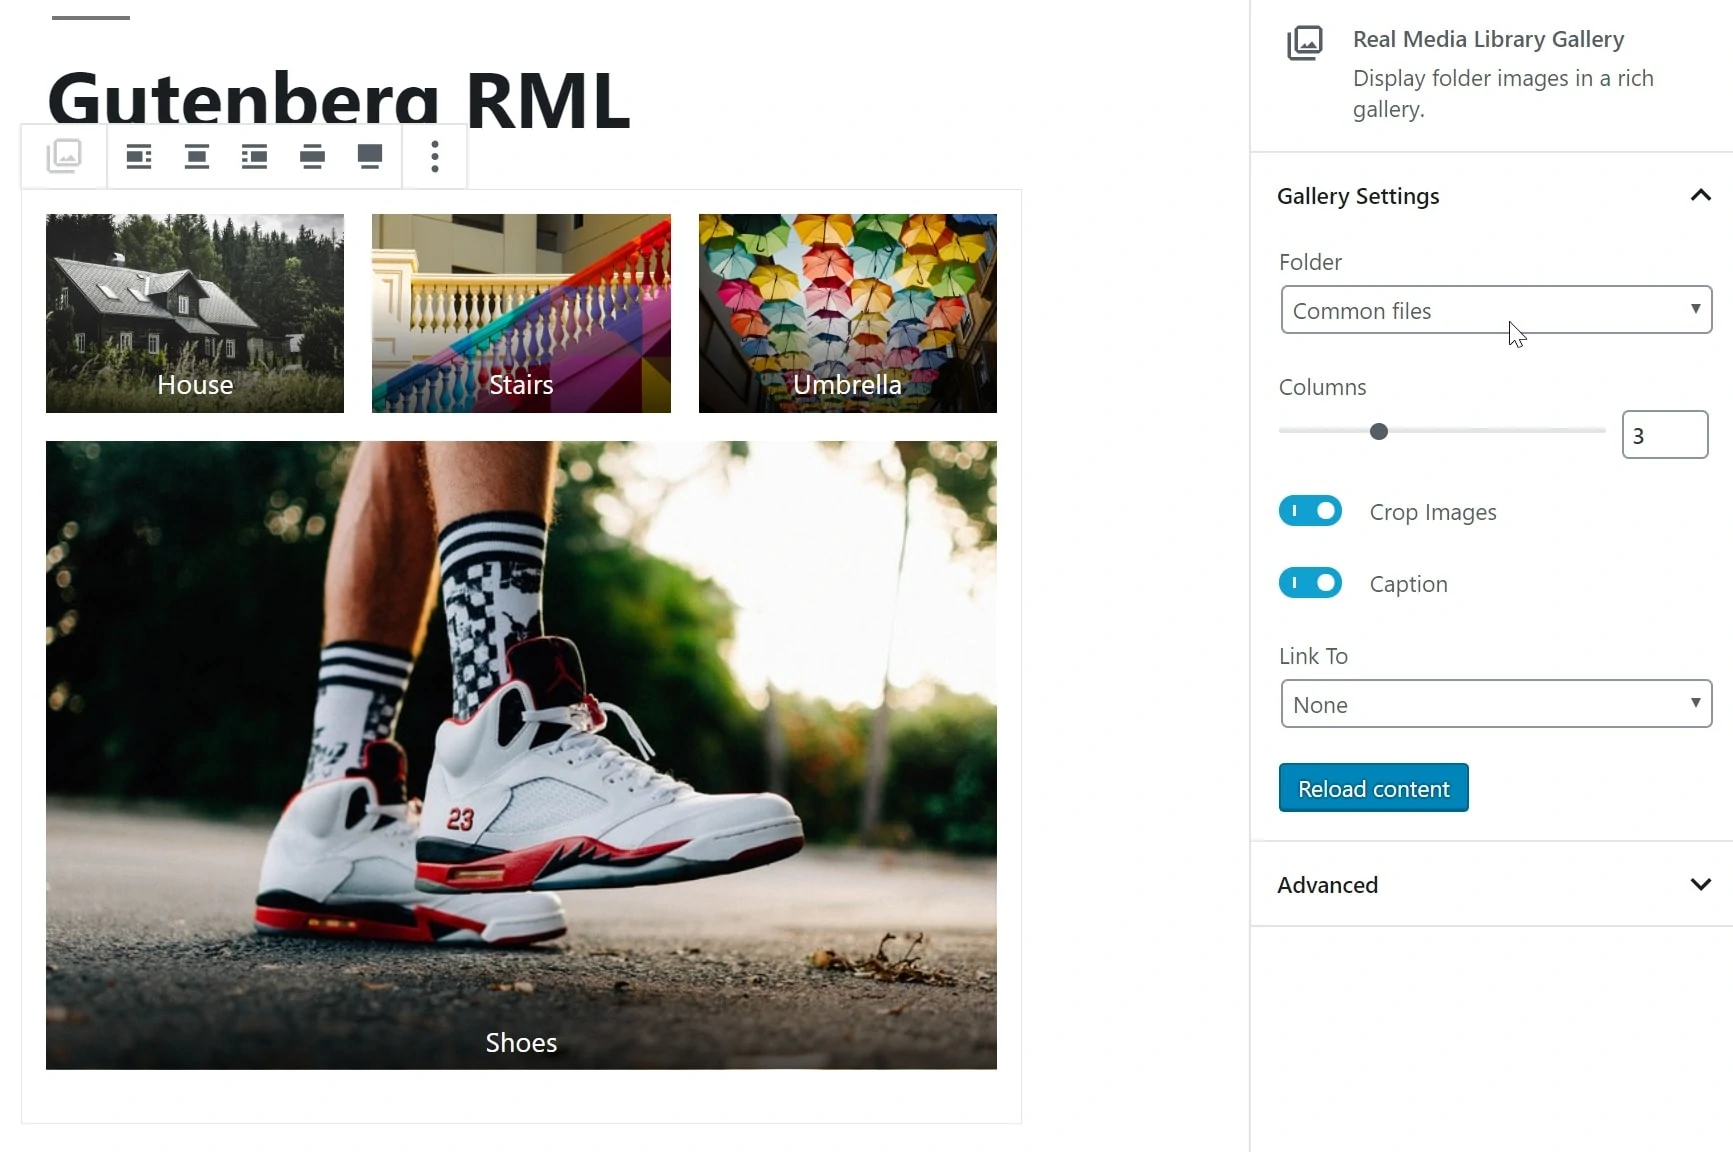
On many WordPress websites, images are the most important media uploads. Often you want to show not just one picture, but a whole gallery of pictures. These galleries can be organized as so-called “collections” using the Real Media Library plugin. This is a group of images or a group of galleries.
To show the galleries, Real Media Library comes with a simple Gutenberg block for galleries, but this feature is limited in its flexibility. If you are using a more advanced page builder or want to have a complex gallery, you can use the Justified Image Grid and FooGallery plugins. Both plugins are fully compatible and integrated with the Real Media Library plugin. Therefore, you can create a collection in your WordPress Media Library, which is a function of the Real Media Library, and use this collection (group of images) in one of the mentioned gallery plugins to display images on your website.
Collections give you the best control over groups of pictures, which you can arrange in your WordPress backend and output flexibly in the frontend.
An alternative way to preserve structure in your WordPress Media Library are tags. You don’t move files into folders or collections; you tag each file and you can filter the library by one or more tags. This method is used by WordPress by default for posts with its tags feature, but not for media uploads.
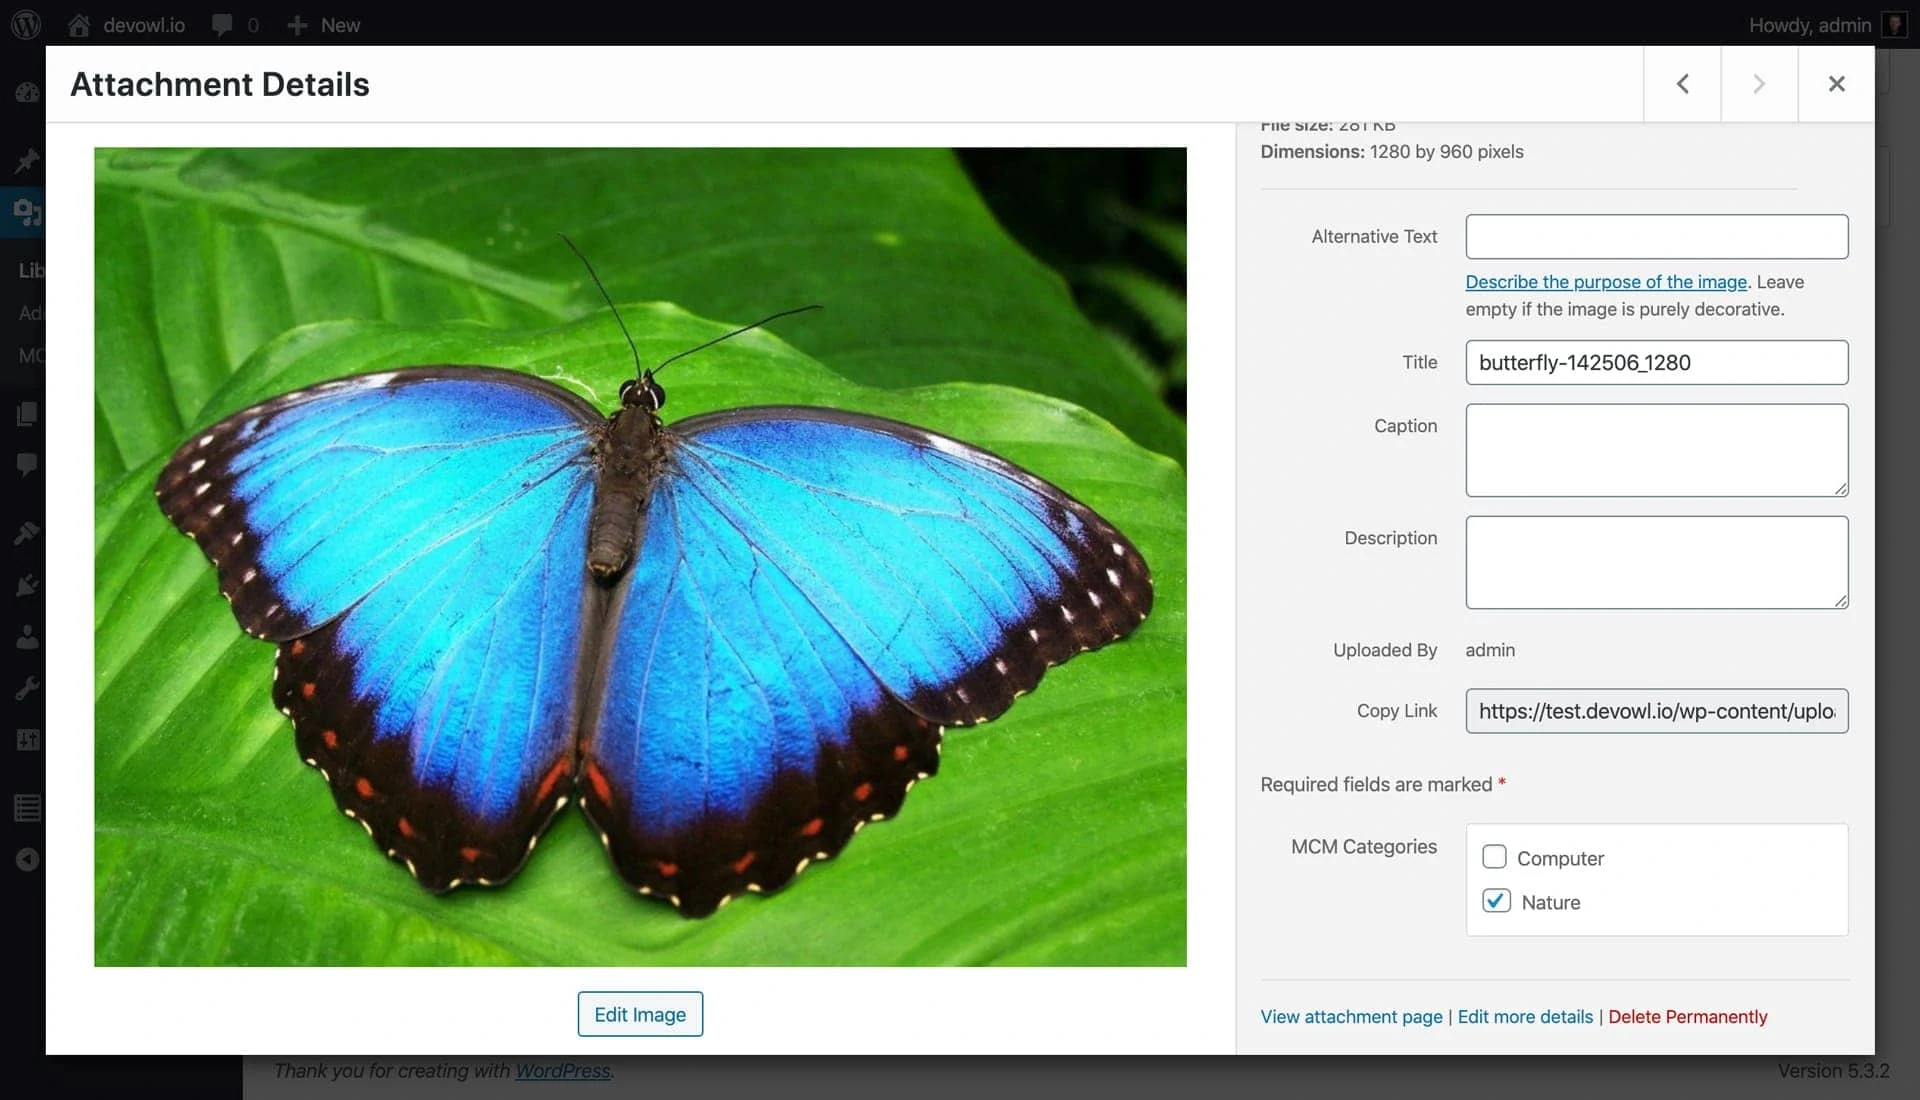
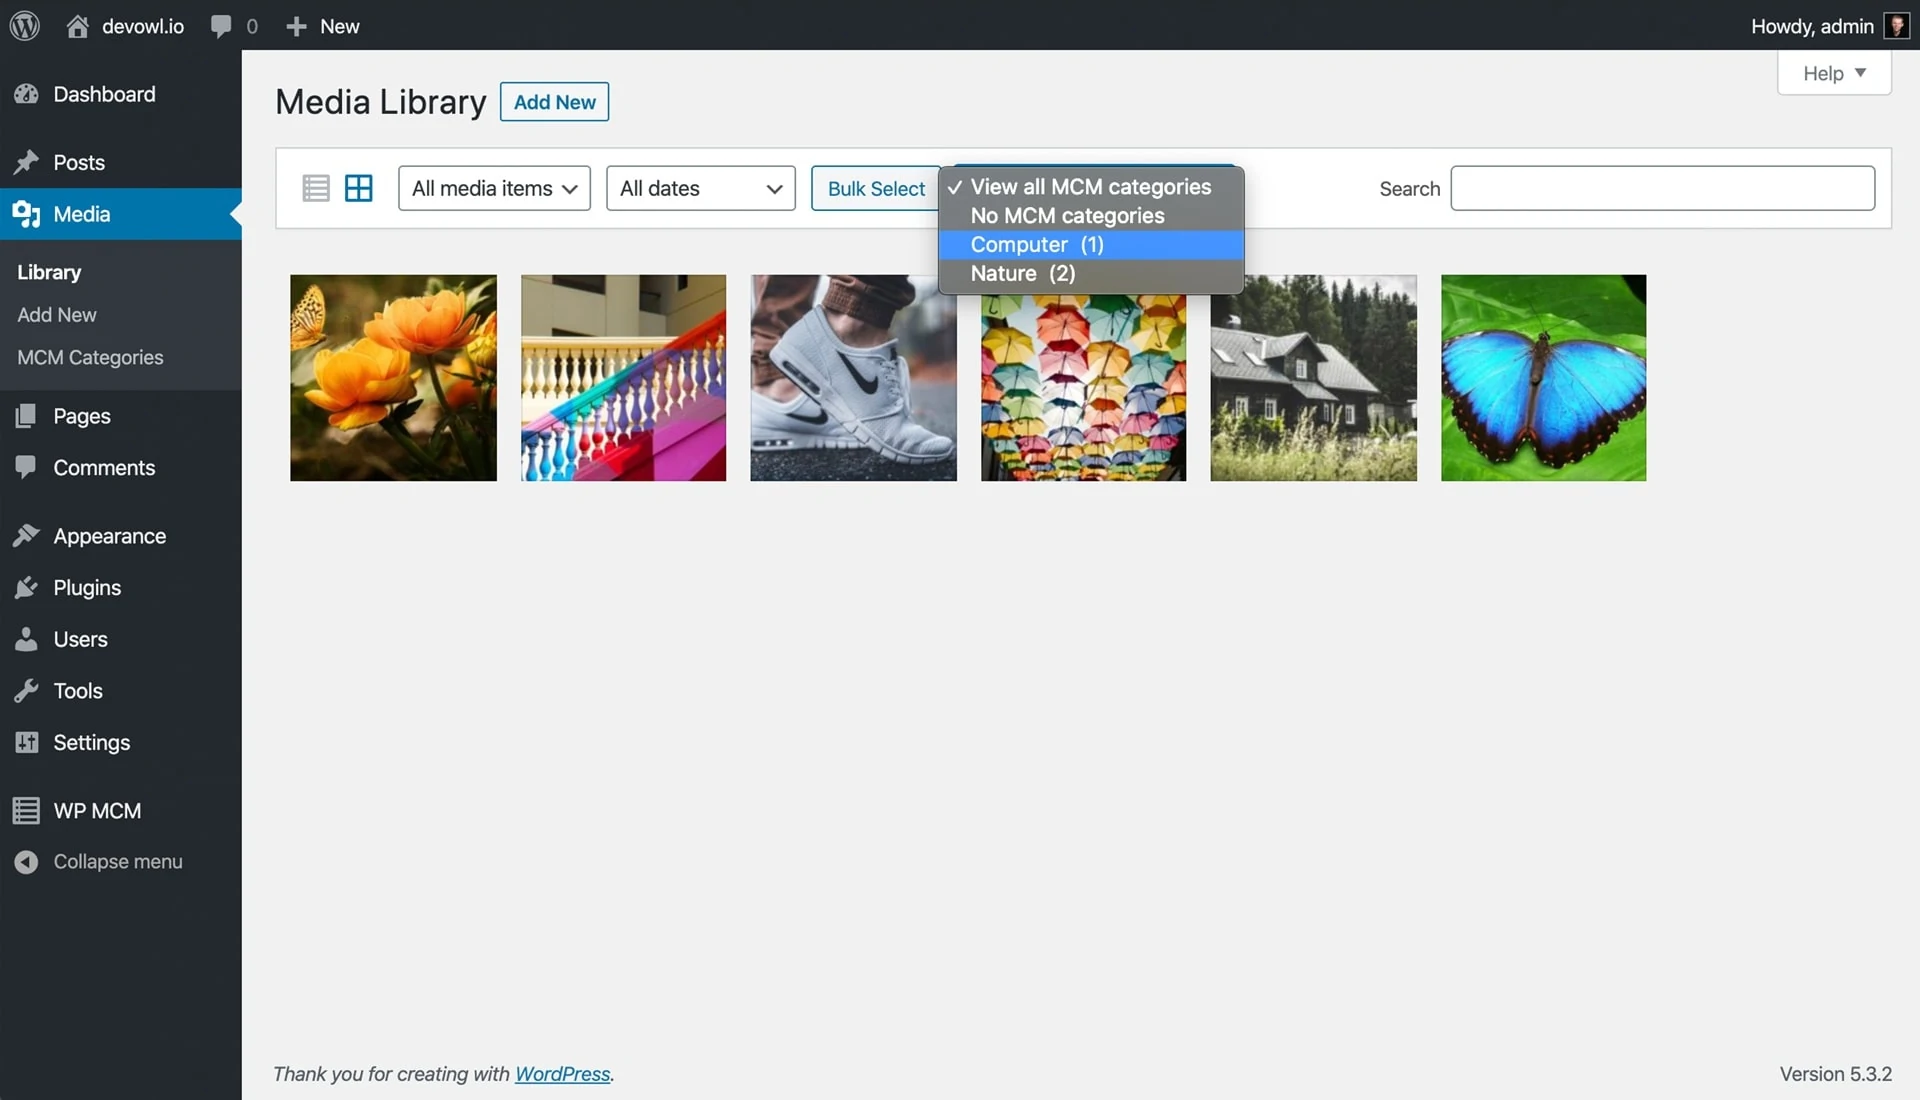
The free plugin WP Media Category Management helps here. After installing the plugin you can create so-called “media categories”. Each category has a name, a description and a slug have. In the “Edit Media” dialog you can assign each upload to one or more media categories (tags) and the overview of the media library gives you the possibility to filter these tags.
If this explanation sounds complicated to you, tags might not be the right way to organize your media library. Compared to folders, a more sophisticated approach is to categorize files and make them easily searchable – even when there are thousands of files and hundreds of categories. But you need to understand the logical relationship between files and media categories in your own mind, without a visual representation like a folder tree.