You use a WordPress plugin or service for which there is no content blocker template in Real Cookie Banner? You can always request a new cookie and content blocker template for free, and we will try to implement it for you in a reasonable time. Alternatively, you can always create a custom content blocker by yourself. This article shows you step by step how to find all the necessary information.
Where can I create a content blocker?
Go to your WordPress backend and there in the left sidebar by clicking on Cookies in the Real Cookie Banner settings. On this page you will find several tabs. One of them is called Content Blocker and is relevant for us. In the tab there is an “Add content blocker” button in the upper-right corner, which we can use to create a content blocker. In addition to the selection from content blocker templates, we find in this view at the top a “Create from scratch” button, with which we can create a content blocker.
Please note that each content blocker requires one or multiple services. Once these services are accepted, the content is loaded (instead of the content blocker). Therefore, you should create all required services (with their cookies) before you create your individual content blocker. How to do that you can read in the article How do I create an individual cookie (service)?.
What must be specified in a content blocker?
To create the content blocker, you will see a number of fields. Under each field you will find a description of what exactly needs to be entered in the field. Please read the description carefully to understand what you need to enter in which field. In the following, we will go into each field in more detail with examples.
There are the following fields to fill:
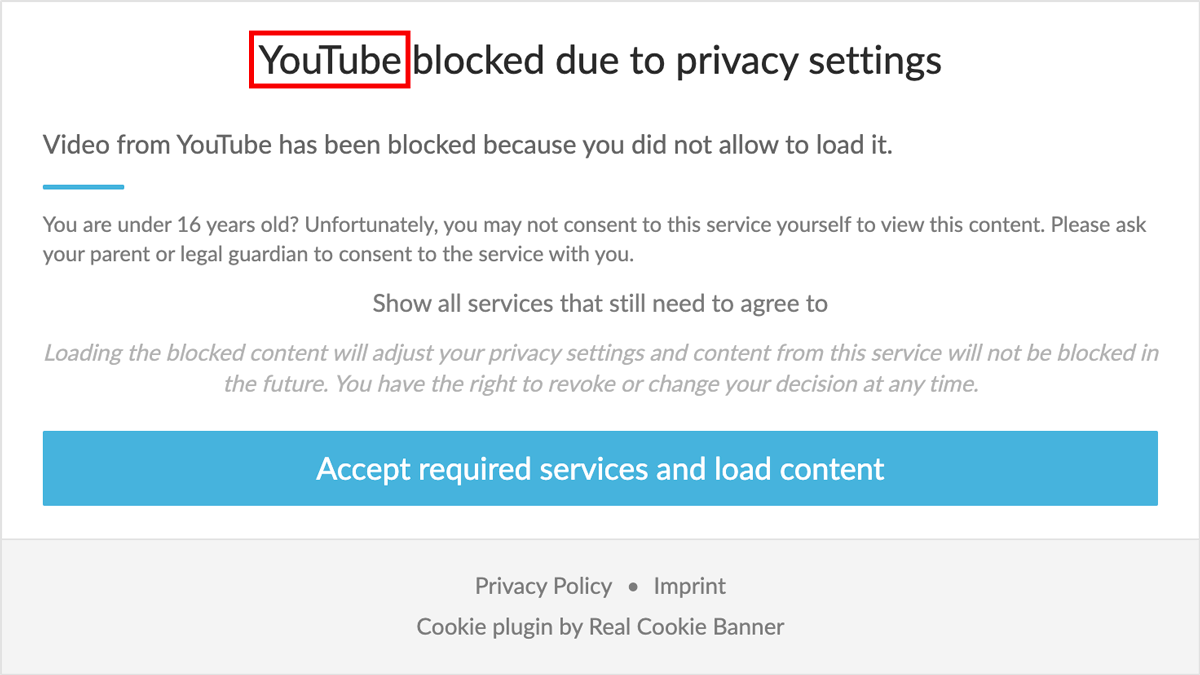
Name
The name of the content blocker is displayed in the headline of a visible content blocker. It should clearly describe which service cannot be loaded so that your visitor can easily decide whether to agree to the cookie (service) to see the current content.
Example: YouTube
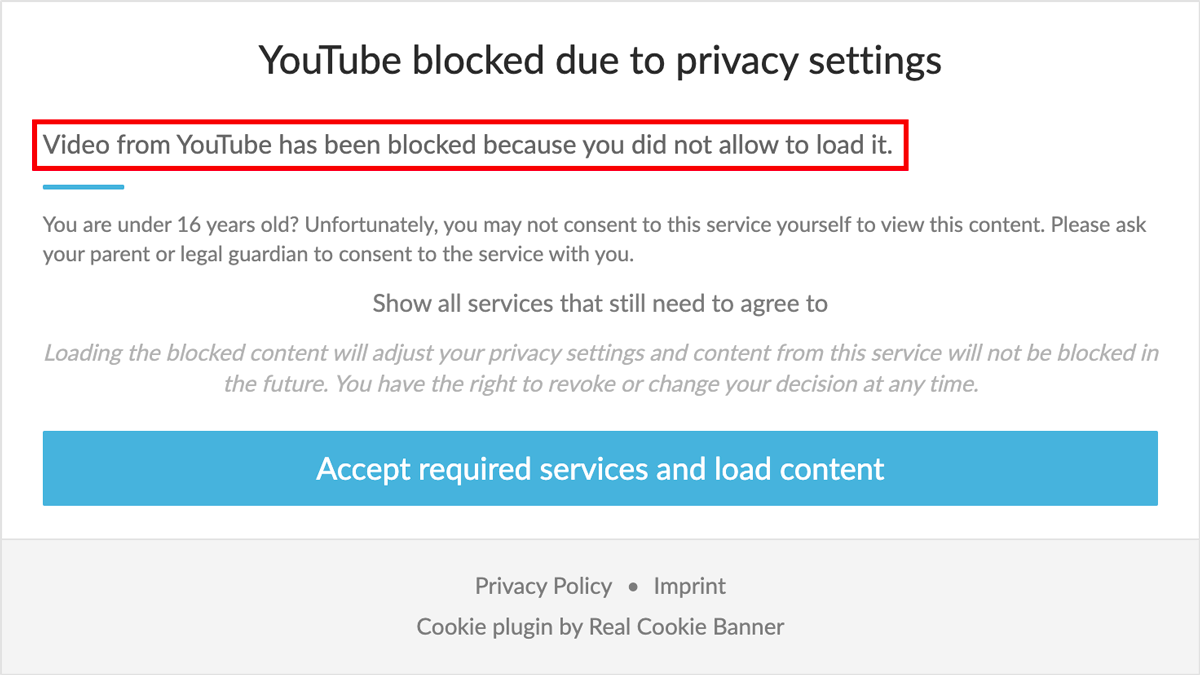
Description
The description is a free text field in which you can give your visitors more information about what could not be loaded and for what reason. In particular with e.g. contact forms, this can be helpful to show the user the benefit of agreeing to load the service or to provide them with an email address as an alternative way to contact you.
Example: Video from YouTube has been blocked because you did not allow to load it.
URLs / Elements to block
The most important thing with a content blocker is to correctly specify which elements should be blocked. One rule per line must be specified according to the syntax explained below the input field. To help you understand how it works, we’ll apply these rules to some examples later.
Below is a brief explanation of each of the syntax elements:
*: With an asterisk you can express a wildcard (any character) within a string. You can use the wildcard both inside a string and before and after the string. For a URL, it is recommended to define e.g. only the hostname and a part of the path as fixed, but to define protocol as well as variables (at the end of the path) as wildcard arbitrary. Rules with or without wildcard are applied to all elements within the HTML that your WordPress generates.div[id="my-embed-example"]: You can block HTML elements by their ID. You can apply the rule to any HTML element and attribute.p[class*="my-embed-example"]: Just like in the previous rule, you can block an HTML element by its class property. However, an HTML element can have multiple classes. With an asterisk afterclassyou can express a contains-condition, so that this class must be included, but also other classes can be specified for the element.div[data-href^="https://example.com"]: The^=selector matches every element whose attribute value begins with a specified value.div[data-href$=".pdf"]: The$=selector matches every element whose attribute value ends with a specified value.div[data-gyp-href]: This syntax matches all elements with a given attribute, regardless of the value.div[href//="^https:\/\/"]: The//=selector matches every element whose attribute value matches a regular expression (supported since v4.4.2).div[class*="my-embed-example"][data-gyp-href]: With this syntax you can match all elements with two attribute conditions. You can concatenate attribute selectors indefinitely (since version 2.13.0)div[data-href:myFunction(),anotherFunction(arg1=1&arg2=2)]: With this syntax an additional function can be called for matching (since version > 3.4.3). See section “Selector syntax functions” for more information.my-custom-web-component[id="my-embed-example"]: You can block not only native HTML elements, but also Web Components.!*: An exclamation mark in front of each rule negates it. This means that if a previous rule has blocked a resource, negating it will undo this (supported since v4.1.3).
The rules are abstract, so we would like to give you a few examples of what is blocked in which case.
Blocking e.g. an iframe based on a URL
HTML code in your website:
<iframe width="560" height="315" src="https://www.youtube.com/embed/XtLWonUXAmO" frameborder="0" allow="accelerometer; autoplay; clipboard-write; encrypted-media; gyroscope; picture-in-picture" allowfullscreen></iframe>Rule for blocking: *youtube.com/embed/*
Blocking e.g. a script based on a URL
HTML code in your website:
<script async src="https://www.googletagmanager.com/gtag/js?id=UA-123456789-1">
</script>

<script> window.dataLayer = window.dataLayer || []; function gtag(){dataLayer.push(arguments);} gtag('js', new Date()); gtag('config', 'UA-123456789-1'); </script>
Rules for blocking:
*googletagmanager.com/gtag/js?id=*

*window.dataLayer*
Not only the external script (googletagmanager.com/gtag/js?id=) is blocked based on the URL, but also the inline script (window.dataLayer) based on the specified keyword.
Blocking an HTML element by its ID
HTML code in your website:
<div id="addtoany_list" class="green">
   [...]
</div>
Rule for blocking: div[id="addtoany_list"]
Blocking an HTML element by its class name
HTML code in your website:
<div class="addtoany addtoany_share_save_container addtoany_widget">
   [...]
</div>
Rule for blocking: div[class*="addtoany_share_save_container"]
Blocking an HTML element by custom attribute
HTML code in your website:
<div data-youtube-embed="https://www.youtube.com/embed/XtLWonUXAmO">
   [...]
</div>
Rule for blocking: div[data-youtube-embed*="youtube.com/embed"]
Blocking an HTML element by two custom attributes (since version 2.13.0)
HTML code in your website:
<div data-youtube-embed="https://www.youtube.com/embed/XtLWonUXAmO" block-this="1">
   [...]
</div>
Rule for blocking: div[data-youtube-embed*="youtube.com/embed"][block-this="1"]
Blocking a script from a plugin
In some cases you want to block a plugin completely because it loads external data (e.g. Contact Form 7 with Google reCAPTCHA).
HTML code in your website:
<script src="https://your-domain.com/wp-content/plugins/contact-form-7/js/script.js" />Rule for blocking: *wp-content/plugins/contact-form-7/*
Blocking a link (explicitly)
You can block any element with a content blocker. However, by default, links (<a> elements) are only blocked if you explicitly block the element as follows. Rules like blocking by URL (first example) are otherwise not applied to links to prevent the content blocker from over-blocking.
<a href="https://www.youtube.com/watch?v=INJ_sS81ua8">Watch with awesome video</a>Rule for blocking: a[href*="youtube.com"]
Selector syntax functions
Since Real Cookie Banner > v3.4.3 it supports functions which can be applied on top of selector syntax attributes. This allows more flexibility to solve complex selector rules. The following list of functions is currently implemented:
matchesUrl()
- Example
div[data-href:matchesUrl()]
Imagine you have created a Content Blocker with the following rules:
*youtube.com*
*youtu.be*
div[data-href*="youtube.com"]
div[data-href*="youtu.be"]
Instead of writing two rules for the div we can solve this with div[data-href:matchesUrl()]. It automatically takes all non-selector-syntax rules of the Content Blocker and matches with data-href:
*youtube.com*
*youtu.be*
div[data-href:matchesUrl()]
keepAttributes() and confirm()
- Example
a[data-href*="youtube.com"][class*="my-lightbox":keepAttributes(value=class),confirm()]
- Parameters (keepAttributes)
value(string): A comma-separated list of attributes which should not be converted toconsent-original-...
In this example you can see two new selector syntax functions. Imagine you use a lightbox plugin that opens all links with a YouTube video in a lightbox. Of course, the click on the link should be blocked here, otherwise the YouTube video will embed itself on the page without consent.
Firstly, keepAttributes can be used to not block the class name, i.e. class="my-lightbox" will not be converted to consent-original-class_="my-lightbox". This allows, for example, the lightbox implementation to initialize the lightbox for the respective YouTube videos. confirm() goes the step further and blocks the click on the link until consent is obtained. If there is no consent, the content blocker is displayed in a dialog when clicked. If consent is given, the click is then automatically delegated to the Lightbox plugin and it opens the YouTube video.
delegateClick()
- Example:
a[data-href="youtube.com":delegateClick(selector=.overlay&hide=true)]
- Parameters:
selector="self"(string): Can be “self” or a valid CSS selector which will be executed on the unblocked element and used for the click delegationhide=false(boolean): If true, the clicked element will be hidden
Real Cookie Banner already tries to automatically forward the click to the right place for unblocked elements. However, this is technically not always possible, which is why there is the function with delegateClick() to click a specific selector after unblocking a content.
forceVisual()
- Example
input[class*="my-hidden-input-field"][type="hidden":forceVisual()]
When called for an attribute it will mark the individual node to force a visual content blocker. This is the same setting as we know from the “Force visual content blocker for hidden elements” for a whole content blocker. This can be useful for hidden elements like input[type="hidden"] which do usually not get a visual content blocker.
visualParent()
- Example
input[name="_wpcf7_recaptcha_response":visualParent(value=form)]
value(string|number|true)".my-selector": This allows you to create the visual content blocker on a parent CSS selector"children:.my-selector": This allows you to create the visual content blocker on a CSS selector target inside the blocked elementnumber: This allows you to create the visual content blocker x elements upwardstrue: Uses the parent for rendering the visual content blocker (similar to “1”)
Real Cookie Banner always creates the visual content blocker in front of the element that was blocked. However, if you want to render the visual content blocker on a different layer of the DOM element relative to the blocked content, you can do this by defining a visual parent. A simple use case would be e.g. blocking a complete form (<form) if an input field for Google reCAPTCHA was found in it.
transformAttribute()
- Example
div[class="my-class":transformAttribute(name=data-id,target=my-data-id)]
- Parameters
[name=current attribute](string): Name of the attribute which should be modified[regexpMatch](string): Match the attribute value by regular expression[regexpReplace](string): When given, use this new value (use e.g.$1to match the first regexp group ofregexpMatch). When noregexpMatchis given, it defaults to the whole value[target](string): Put the value to this new attribute (does not work in conjunction withrename)[rename="new-attribute-name"](string): Rename attribute instead of adding a new one
style()
- Example
div[class="my-div":style(this=display:block&rule[]=>.my-selector{display:table;width:100%;})]
- Parameters
[this](string): CSS rules applied to the blocked element[applyUnblocked=false](boolean): If true, the styles will still be applied after unblocking the element[rules](string[]): An array of CSS selectors and rules relative to the blocked element
The above example will result in the following CSS which modifies the style of the blocked element:
<style>
.my-div{display:block;}
.my-div>.selector{display:table;width:100%;}
</style>
jQueryHijackEach()
- Example
div[class="my-class":keepAttributes(value=class),jQueryHijackEach()]
When you use jQuery.each() on a specific selector (in this case .my-class), using jQueryHijackEach() will “delay” the execution of the callback until consent is obtained.
Content is only blocked until your visitor gives consent. You have to define which cookies have to be accepted for the content blocker so that the content can be loaded. The content will only be loaded if all defined cookies (services) are accepted.